Choosing an antenna
The zBitx can withstand antenna mismatch up to 2.0 SWR . Although a tuner can be used for multi-band operation, it is recommended to use a well-matched resonant antenna that keeps the SWR below 1.5 for best results.
Powering up the zBitx
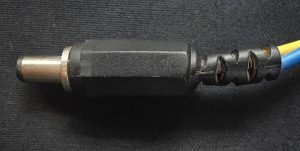
We recommend the use of a low noise SMPS power supply rated for 9V at 5 Amperes of current. The power connector on the zBitx is the regular 5.5×2.1mm DC barrel connector. Pay attention to the polarity. The center pin is connected to positive and the shell is connected to the negative. Although the zBitx works on voltages upto 12V, we suggest operating the radio in the 6 to 9V region to prevent damage to the radio and to keep the heat generation minimal.
Using the zBitx outdoors
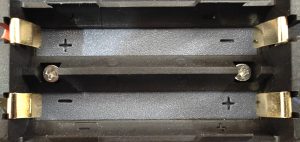
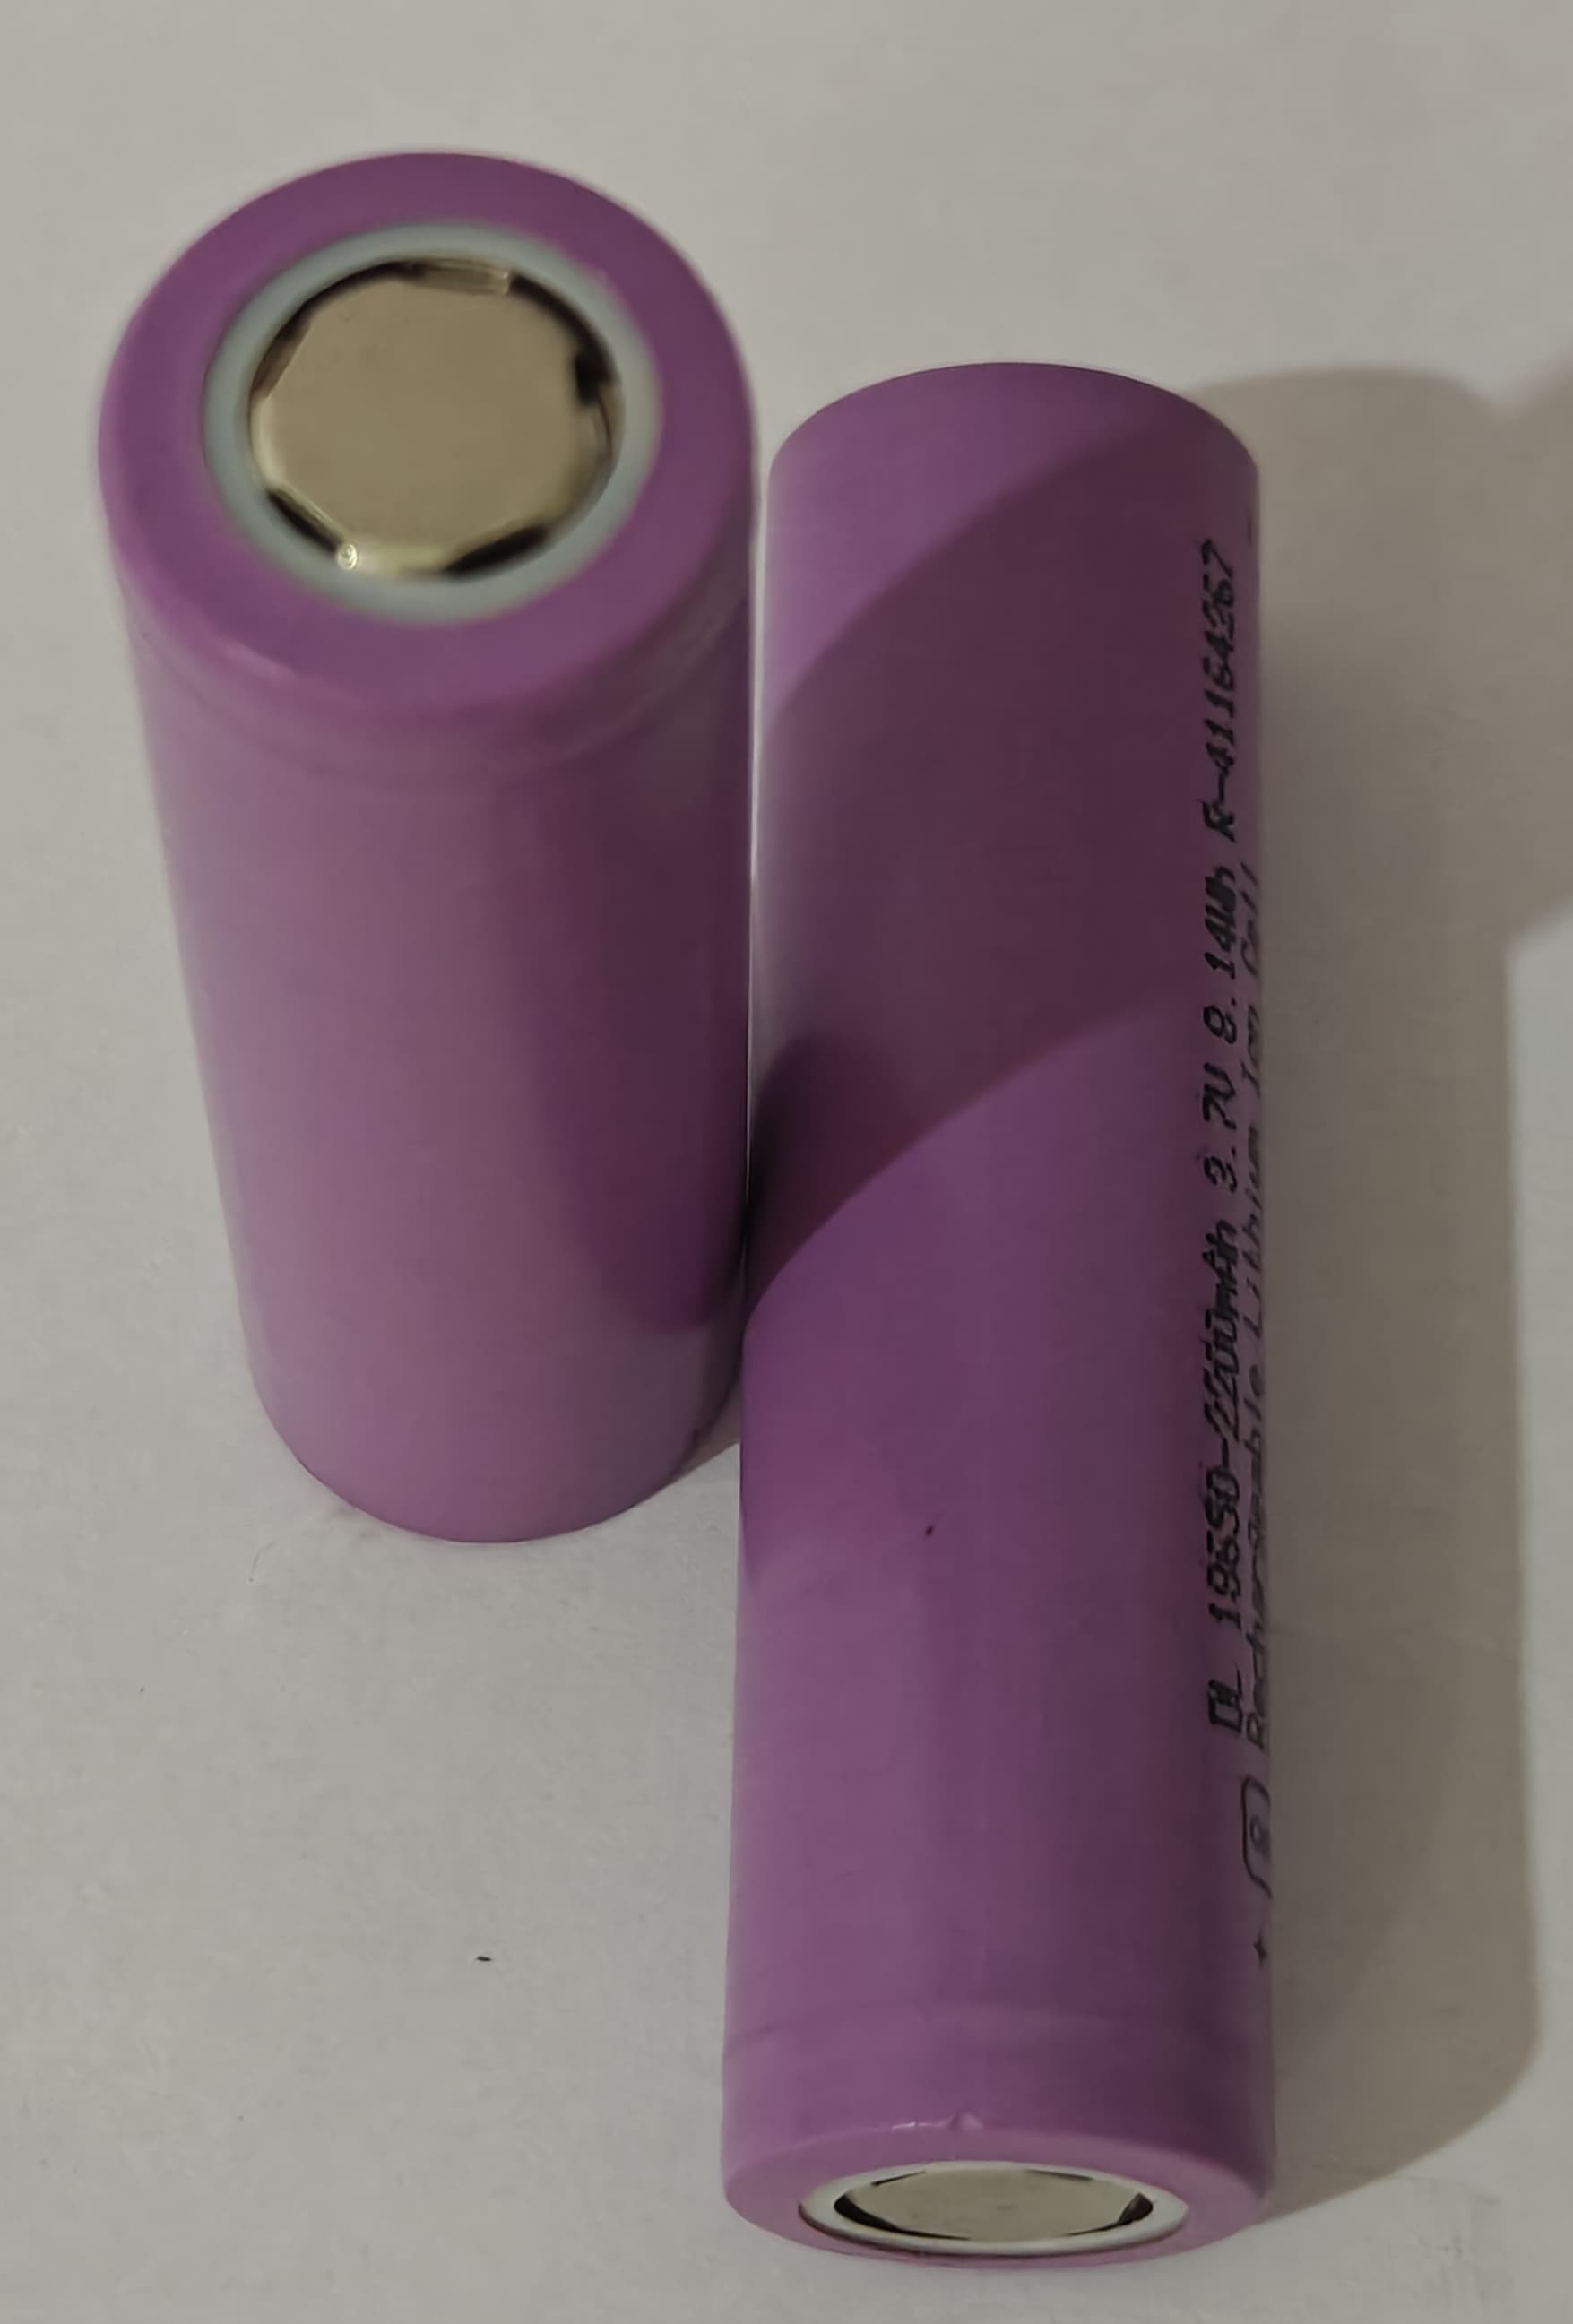
If you are using the radio out in the field, you can use the supplied 18650 battery case to power up your radio. Please pay attention to the polarity markings on the zBitx when using 18650 batteries. Incorrect polarity will damage the zBitx. The battery holder accepts 18650 cells with a flat top.
To power up the zBitx, simply plug in the DC barrel connector into the zBitx and the radio should turn on.
The front panel display comes on first and displays the UI and the firmware version along with the message “Waiting for zBitx to start” which is followed by a message indicating the software version of the radio once the Raspberry Pi boots up and begins to do the processing in the background.
You should see a waterfall on the front panel display and hear band noise once the radio is ready to use.
Please note the radio is not waterproof. Keep the radio sheltered from water/snow. If any water gets into your radio, switch it off immediately, open the box (see the section on disassembly), wipe off the water with a dry cloth and blow dry the electronics. Use it after a couple of hours to allow the remaining moisture to evaporate.